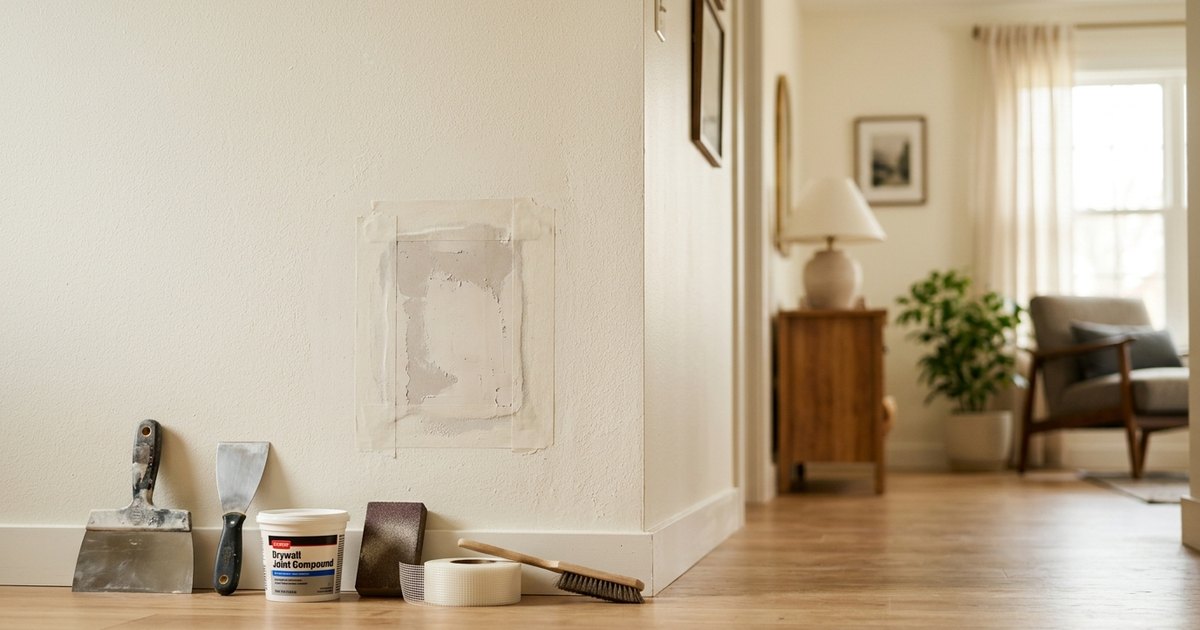
Drywall damage is one of the most common home repair issues, whether it's a doorknob hole, a crack from settling, or water damage from a slow leak. The good news: many drywall repairs are genuinely DIY-friendly with the right materials and a little patience. But some jobs call for a professional. Here's how to tell the difference, what it costs, and how to get it done right—especially if you're a homeowner heading into fall, when temperature swings can make existing cracks worse.
What You'll Need for Basic DIY Drywall Repair
Before you start, gather the right supplies. Using the wrong materials is the most common DIY mistake.
- Joint compound (mud): For most repairs. Lightweight compound sands easier; all-purpose works for larger patches.
- Spackle: Best for very small nail holes or hairline cracks only—not for anything over about ½ inch.
- Drywall tape (paper or mesh): Mesh is easier for beginners; paper tape creates a stronger bond for larger seams.
- Drywall patch kit or backer board: Needed for holes larger than about 6 inches.
- Putty knife and mud pan: A 6-inch and a 10-inch knife cover most jobs.
- Sandpaper (120–150 grit) and a sanding block
- Primer and matching paint: Never skip primer—bare compound will show through paint.
- Safety glasses and an N95 dust mask: Drywall dust is fine and irritating to lungs. Always wear a mask when sanding.
Typically, a basic patch kit runs $10–$25 at any hardware store. A full supply run for a larger repair—including compound, tape, knives, and sandpaper—is typically $30–$60.
How to Repair Small Holes and Nail Pops (DIY-Friendly)
Small holes (under 4 inches) and nail pops are the most beginner-friendly repairs.
Nail holes and small dings: 1. Apply a small amount of spackle with a putty knife, slightly overfilling. 2. Let dry completely (follow the product's time—usually 2–4 hours). 3. Sand smooth and wipe clean. 4. Prime, then paint.
Nail pops (when a nail pushes through the drywall surface): 1. Drive a drywall screw about 2 inches above and below the popped nail to re-secure the panel. 2. Hammer the popped nail back slightly below the surface. 3. Apply two or three thin coats of joint compound over both dimples, letting each coat dry fully. 4. Sand, prime, paint.
Holes up to 4–6 inches: Use a self-adhesive mesh patch. Apply the patch, then spread joint compound in thin coats (two to three coats, feathering out about 6–8 inches from the patch edge). Sand between coats. Rushing this step is why DIY patches look obvious—patience matters.
How to Handle Larger Holes and Cracks
Holes larger than 6 inches need a different approach: a California patch or a backer board cut-in.
Cut-in patch method: 1. Cut the damaged area into a clean rectangle or square with a drywall saw. 2. Install wood backer strips inside the wall cavity on each side. 3. Cut a drywall piece to fit and screw it to the backers. 4. Tape all seams with paper tape and joint compound. 5. Apply two to three feathered coats, sand smooth, prime, and paint.
Cracks from house settling: Fall can bring temperature swings that cause wood framing to shift slightly, reopening old cracks. For hairline cracks, widen slightly with a putty knife, fill with compound, embed paper tape over the crack, coat, sand, and paint. Recurring cracks in the same spot may signal a structural issue—that's a red flag to call a professional.
Safety note: Before cutting into any wall, check for electrical wires and plumbing. Use a stud finder with AC detection, or cut slowly and carefully. When in doubt, don't cut.
When to Call a Professional Instead of DIYing
Some drywall situations are better left to a pro. Here's when to skip the DIY route:
- Water damage: If drywall is soft, discolored, or has mold, you must fix the source of moisture first and replace affected panels. Mold remediation may also be required before patching.
- Large damaged areas (over 2–3 square feet): Achieving a seamless finish on big repairs takes skill and experience.
- Ceiling repairs: Working overhead is physically demanding and much harder to finish smoothly.
- Textured walls: Matching existing texture—orange peel, knockdown, popcorn—is notoriously difficult without practice. A mismatched texture patch is very obvious.
- Cracks that keep coming back: Recurring cracks can signal foundation movement or framing issues that need structural evaluation, not just cosmetic patching.
- You don't have the time or confidence: A botched repair that needs to be redone costs more in the long run.
Realistic Cost Ranges for Professional Drywall Repair
Hiring a handyman for drywall repair typically costs:
- Small patch (nail holes, minor damage): $75–$150
- Medium hole repair (4–12 inches): $150–$300
- Large section replacement: $300–$600+, depending on square footage and whether texturing is needed
- Water-damaged drywall replacement (including mold treatment): $500–$1,500+ depending on severity
Prices vary based on materials, accessibility (ceilings cost more), and local labor rates. Getting two or three quotes is always smart—platforms like FixFinder let you post the job and receive quotes from vetted, background-checked local handymen without any upfront cost.
Tips for a Professional-Looking Finish
Even experienced DIYers get tripped up on the finishing stage. Here's what separates a clean repair from an obvious patch:
- Feather your edges wide: The compound should taper out 8–12 inches from the repair. Too small and you'll see a hump.
- Three thin coats beat one thick coat: Thick coats shrink and crack as they dry.
- Sand between every coat: Use 120-grit, wipe the dust, then apply the next coat.
- Always prime before painting: Skip this and the patch will look dull or show through.
- Match the sheen of your existing paint: Flat, eggshell, and satin all reflect light differently. A sheen mismatch is easy to spot.
FAQ
Q: How long does drywall repair take to dry before painting? Joint compound typically takes 24 hours per coat to dry fully under normal conditions—longer in cool, humid fall weather. Don't rush it. If the compound still looks dark or feels cool to the touch, it's not ready. Using a fan or low-heat setting on a space heater can speed drying safely.
Q: Can I use spackle instead of joint compound for larger repairs? Spackle is designed for very small holes—nail pops, tiny dings under ½ inch. It dries too hard and brittle for larger repairs and doesn't bond well with drywall tape. For anything bigger than a pencil eraser, use lightweight or all-purpose joint compound instead.
Q: How do I match textured walls after a drywall repair? Texture matching is one of the hardest parts of drywall repair. For orange peel or knockdown texture, practice on a piece of cardboard first using a spray can texture product or a hopper gun. Popcorn ceilings can sometimes be spot-patched with a sponge. If you can't get a close match, a pro with experience in texture work is worth the cost—an obvious texture patch is hard to fix later.
Q: Is a recurring crack in my drywall a structural problem? Not always, but it can be. Hairline cracks that appear and disappear seasonally are often caused by normal wood framing movement as humidity changes. However, diagonal cracks radiating from window or door corners, stair-step cracks in corners, or cracks that are widening over time may indicate foundation settling or structural movement. In those cases, have a structural engineer or experienced contractor evaluate before you patch.
Get it fixed
If your drywall repair is beyond a weekend project, post your job free on FixFinder and get quotes from vetted local handymen in Fair Grove, MO—no payment until the work is done.